I have a few gift package dies, and here are a couple of cards I made with them:

For this card, I used a single die of three stacked gifts. After cutting it out, I put some inch-wide double sided tape behind the gift openings, one gift at a time. Then I added some fine glitter from the front before adhering the rectangle to a mat.
By putting tape behind one gift at a time, I was able to add a different color of glitter to each gift.

The red panel was then popped up on foam tape.
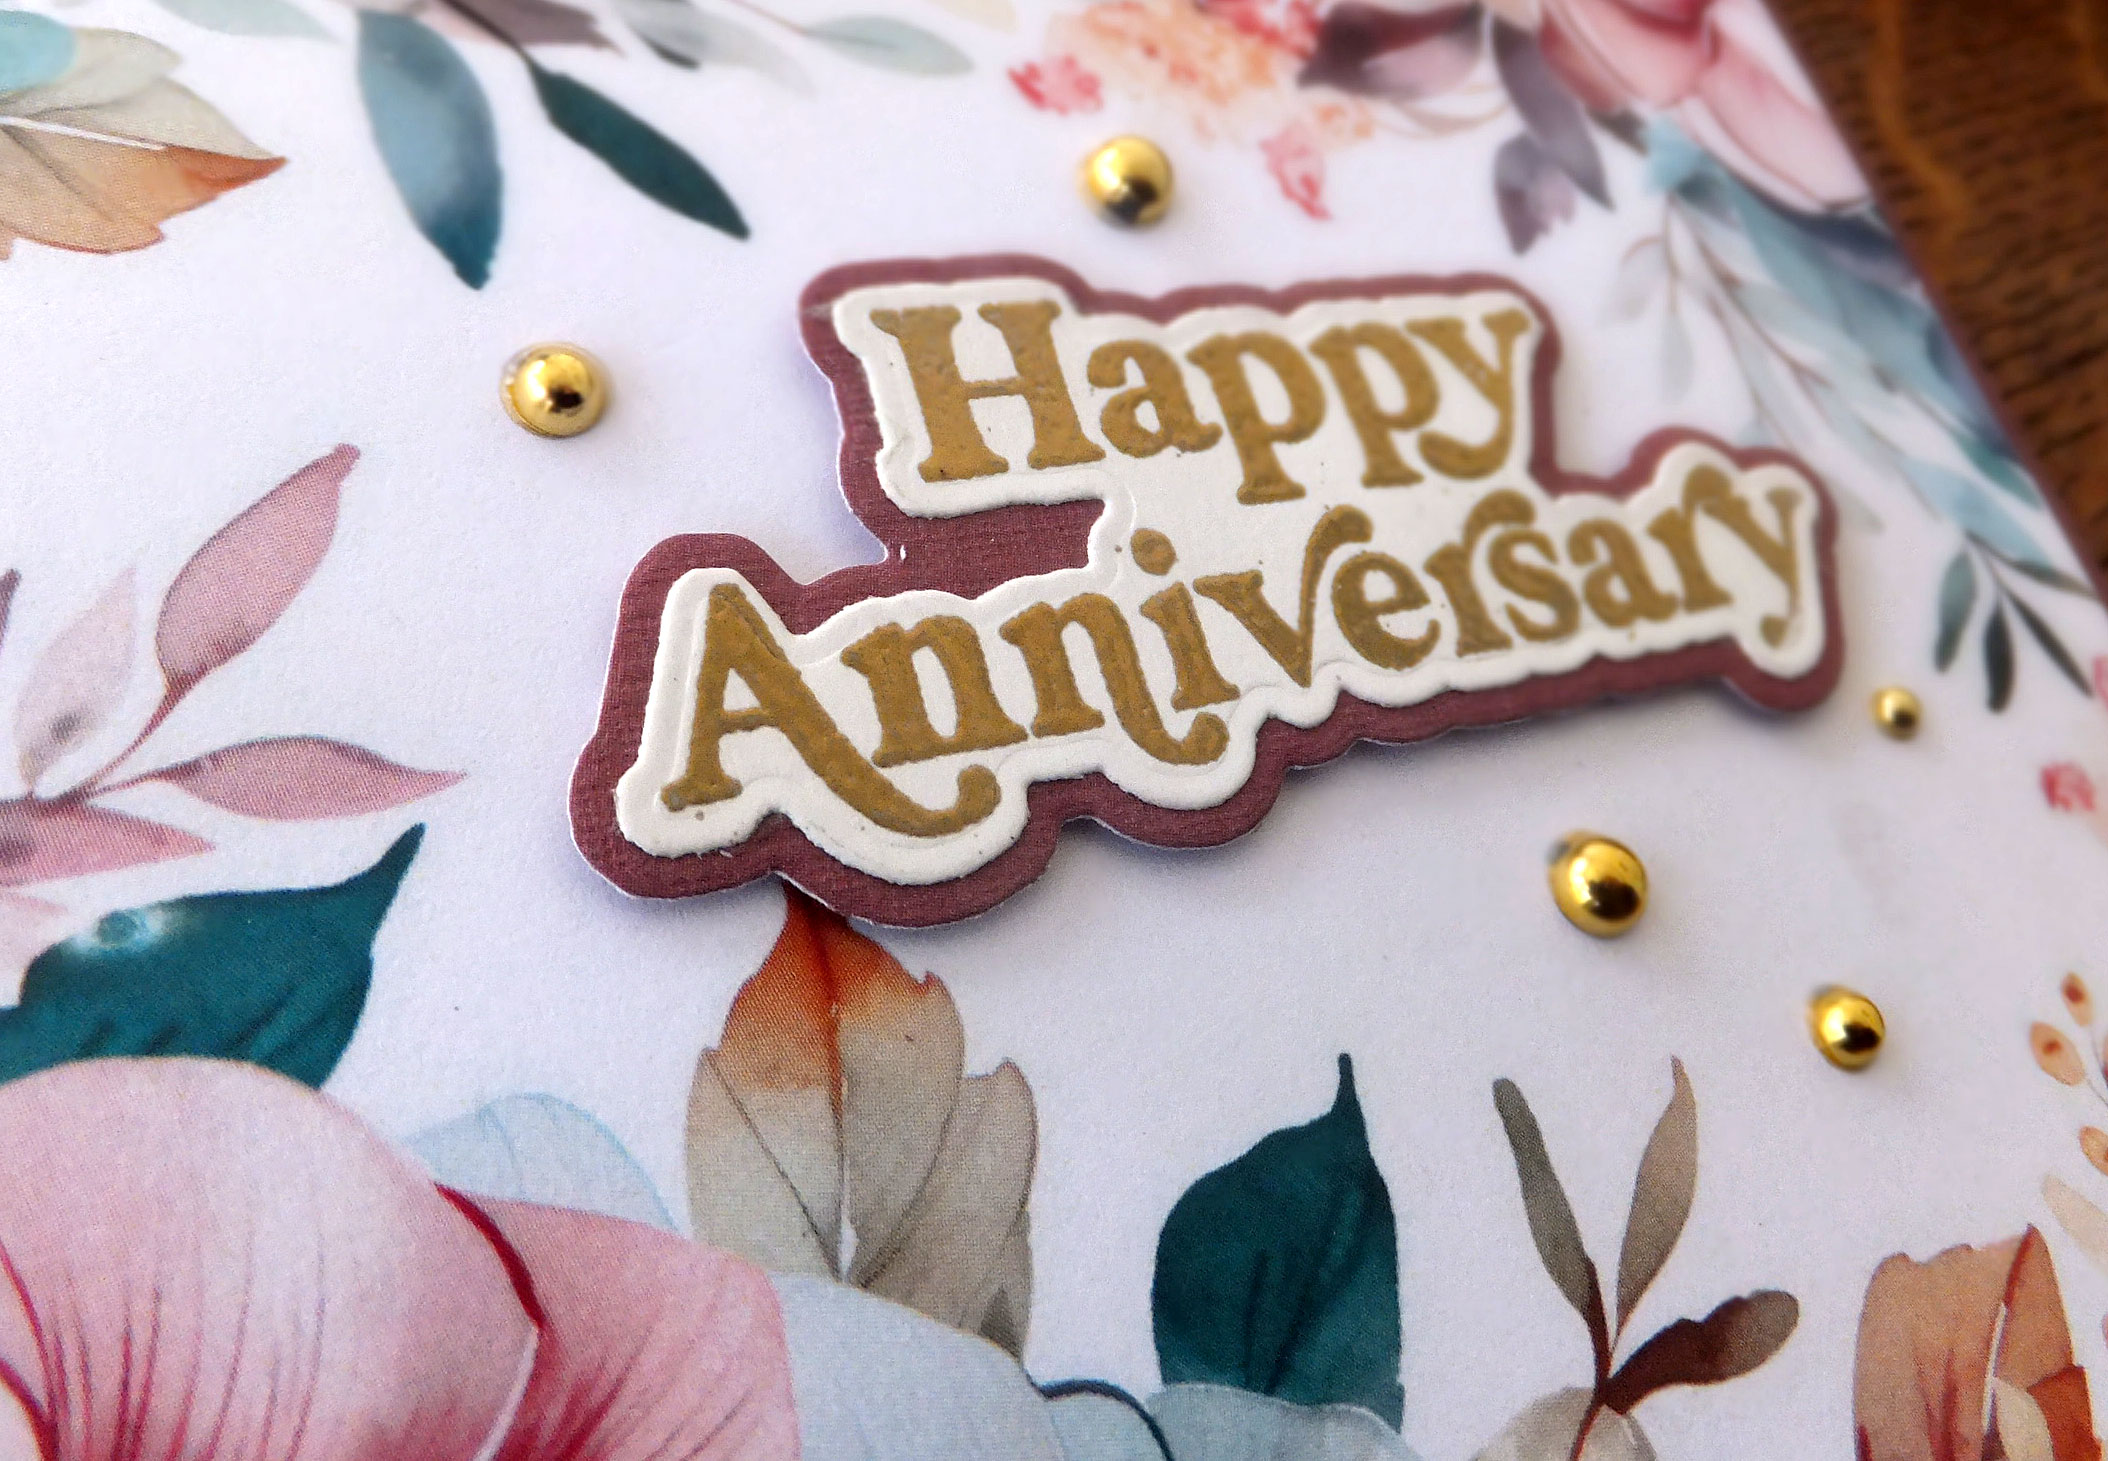
The front of this card is an inch less in width than the back, so that left the perfect amount of room for a vertical die-cut sentiment.

This is what the card looks like when it is open. I added a strip of red CS to the left side of my sentiment to fill in a gap when I cut my white panel too narrow. Oops!

This is another card featuring gift packages, where the front of the top-fold card is an inch shorter than the back.
This time, I used dies to cut some gifts out of metallic cardstock, adding bows and gems for some added decoration. The sentiment was also die-cut and glued to the exposed part of the card back.
I tried to make the gifts out of colors that were included in the glittery background DSP.

The gifts were a little fiddly to assemble, but sometimes that's the fun part of cardmaking, even though it takes time and patience.
I popped up the center gift, but glued the others directly to the card front.

I had a single gift left over, so I glued that to the inside of the card.
These were good, generic cards to donate to the thrift store because they would work for either males or females in different age groups.
Before I go, I thought I'd share a photo of a few tulips I was able to pick before the bunnies began to behead them all!

Thanks so much for stopping by, and remember to laugh--a little or a lot--every day.
Cheryl